In this article, I will review the Best YouTube Video Editing Tips so that you can create refined content that retains viewers.
- Key Points & Best YouTube Video Editing Tips List
- 10 Best YouTube Video Editing Tips
- 1. Plan Your Content
- 2. Use a Good Editing Software
- 3. Trim The Fat
- 4. Add Text and Captions
- 5. Use Jump Cuts Wisely
- 6. Incorporate Music and Sound Effects
- 7. Add: Transitions
- 8.Color Correction & Grading
- 9. Keep Branding Consistent
- 10. Export in High Quality
- Conclusion
No matter the level of your expertise, channel performance can be drastically improved through editing techniques such as trimming, adding music, captions, and much more. Let us get straight into the tips.
Key Points & Best YouTube Video Editing Tips List
| Tip | Key Point |
|---|---|
| Plan Your Content | Script or outline your video before editing to stay focused and organized. |
| Use a Good Editing Software | Choose reliable tools like Adobe Premiere, Final Cut Pro, or DaVinci Resolve. |
| Trim the Fat | Cut out unnecessary pauses or content to keep your video engaging. |
| Add Text and Captions | Use captions for clarity and to increase viewer retention. |
| Use Jump Cuts Wisely | Jump cuts can improve pace but avoid overusing them to prevent confusion. |
| Incorporate Music and Sound Effects | Background music and effects enhance mood and viewer experience. |
| Add Transitions | Smooth transitions help guide viewers between scenes naturally. |
| Color Correction & Grading | Adjust brightness, contrast, and colors for a polished look. |
| Keep Branding Consistent | Use intros/outros, logos, and fonts that reflect your channel identity. |
| Export in High Quality | Always export in HD (1080p or higher) for a professional appearance. |
10 Best YouTube Video Editing Tips
1. Plan Your Content
Having a clear plan for your video content is critical before starting the actual editing. A detailed script or outline allows for a focused recording session that later streamlines the smoothing out process of editing.
Having all the necessary shots beforehand saves time and ensures no important footage is captured post-recording.
Planning is also essential in keeping a uniform feel and pace to the video, which is pivotal in keeping the audience hooked.
Prepare storyboards or shot lists if needed because precision garners intent forthe edits made in the final outcome of the video.
| Feature | Description |
|---|---|
| Script or Outline | Ensures focused storytelling and efficient editing |
| Storyboard | Visual guide for planned shots and sequences |
| Shot List | Keeps filming organized and avoids missing footage |
| Content Goal Clarity | Helps define the purpose and call-to-action |
| Time Estimation | Helps manage total video length before editing |
2. Use a Good Editing Software
Professional looking content requires advanced video editing software which comes at a cost. Consider Adobe’s Premiere Pro or Final Cut, and DaVinci Resolve which allow dynamic editing options with color grading, audio correction, and smooth transitions.
Beginners can make use of the free tools like CapCut or iMovie. Select software that aligns with your level of expertise, content type, and editing style.
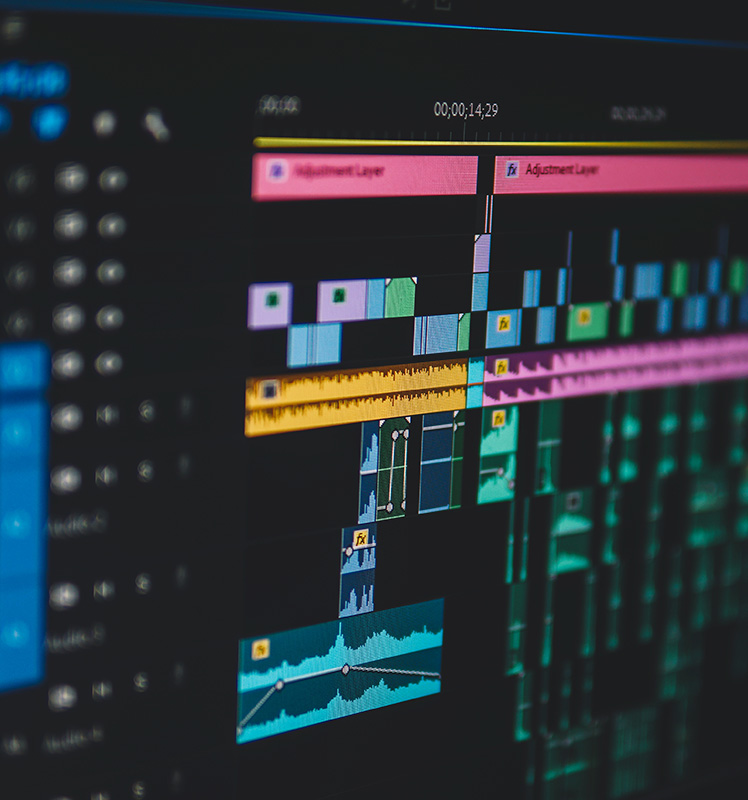
Good software fosters creativity, enhances productivity, and eliminates technological boundaries. Update your software often to add new features and ensure any other tools you are using, especially YouTube, work with the system.
| Feature | Description |
|---|---|
| Multi-track Editing | Allows advanced layering of video and audio |
| Color Correction Tools | Enhances visual quality and consistency |
| Built-in Effects & Transitions | Speeds up creative workflow |
| Format Support | Handles different video/audio codecs |
| Export Presets for YouTube | Optimizes output for platform compatibility |
3. Trim The Fat
Video length should fit the sharable time frame, and you should work towards making edits to hold viewer’s attention. Eliminate pauses, or restating certain points and addition of slow segments that offer no value.
Every frame captured should either inform the audience, entertain, or act as a bridge to the main action. Editing should smoothen the transitions between segments and keep it brisk to promote viewer retention.

Enhanced viewer retention dynamics will augment YouTube’s algorithm for your benefit. Don’t shy away from making aggressive cuts; most of the time, simplicity proves more effective. Use jump cuts without clarity loss and maintain smooth flow throughout the video.
| Feature | Description |
|---|---|
| Cut Tool | Removes unwanted segments with precision |
| Ripple Delete | Automatically closes gaps after trimming |
| Scene Timing Optimization | Keeps pacing tight and engaging |
| Silence Removal | Eliminates dead air or unnecessary pauses |
| Focus Retention | Ensures only valuable content remains |
4. Add Text and Captions
Text overlays and captions are important for the deaf, hard of hearing, or even those watching without sound.
It is important for every viewer to understand what is going on in the video, and text can aid with indicating steps in a tutorial or providing key pointers.

With branded or personalized title cards and lower thirds, your visual uniformity will strengthen. Make sure that the fonts used are easily readable and the text remains on the screen long enough to be read.
While YouTube has the function to automatically generate captions, reviewing or manually adding them is ideal for professionalism, especially with technical terms or accents.
| Feature | Description |
|---|---|
| Lower-thirds | Display names, titles, or key messages stylishly |
| On-screen Prompts | Reinforce spoken instructions or commentary |
| Captions/Subtitles | Increase accessibility and retention |
| Custom Fonts and Styles | Match your brand’s visual identity |
| Animated Text Options | Adds movement to draw attention |
5. Use Jump Cuts Wisely
Busy vloggers, educators, and commentators often make use of jump cuts to increase pacing by removing silences or repetitive moments in speech. While jump cuts can unclutter a video, an excess of them can prove overwhelming to some viewers.
Messy placement can also lead to the video feeling rushed. Aim for conserving clarity through energy.

Enhanced movement through subtle zoom-ins, overlays, or rotation of angles make the video visually appealing without sacrificing natural flow. When properly executed, jump cuts make videos easier to consume to audiences always on the go.
| Feature | Description |
|---|---|
| Quick Pace | Maintains viewer engagement and reduces boredom |
| Seamless Edits | Removes filler words or pauses cleanly |
| Zoom-in/Zoom-out Variations | Adds visual interest during cuts |
| Narrative Flow Preservation | Keeps message intact while trimming time |
| Balance with B-roll | Breaks up repetitive cuts visually |
6. Incorporate Music and Sound Effects
Adding music and sound effects makes your footage more cinematic by adding emotion and a professional quality. Music can set the atmosphere for the video, be it a lively vlog or a more subtle tutorial.
Sound effects help tell the story, making actions more lifelike; clicks, swipes and even background sounds can contribute. Always make sure that voiceovers or dialogues and music are balanced so that no single element drowns out the other.
If posting on Youtube, avoid copyright strikes by using royalty-free music or licensed tracks. Most editing software comes with audio libraries, but high-quality resources can also be found on sites like Epidemic Sound or YouTube’s Audio Library.
| Feature | Description |
|---|---|
| Royalty-Free Audio Libraries | Access legal, ready-to-use music and effects |
| Volume Leveling | Balances music with voice and ambient sounds |
| Mood Setting | Enhances emotion and energy of the video |
| Sound Design Layering | Builds immersive experience |
| Fade In/Out Effects | Smooth transitions for audio elements |
7. Add: Transitions
Transitions help avoid jarring scene changes that break immersion, giving the viewers and yourself a more engaging experience. Overly complex transitions can be detrimental; basic crossfades and wipes work best when kept simple.
For storytelling videos or travel vlogs, cinematic transitions can add flair, but in moderation. Remember to stay in line with the tone of your video to avoid distracting viewers from your message.
Movements signifying new topics, locations, or timeframes are also made easier for the viewers to comprehend with well placed transitions. Striking a balance for good transitions can improve a video immensely; captivating the audience without pulling attention from the narrative itself makes for more riveting storytelling.
| Feature | Description |
|---|---|
| Crossfade/Dissolve | Smoothly blend scenes together |
| Swipe/Wipe | Creative scene changes for storytelling |
| Directional Blur | Adds motion for dynamic transitions |
| Match Cut Support | Keeps continuity between shots |
| Customizable Timing | Controls how fast or slow transitions occur |
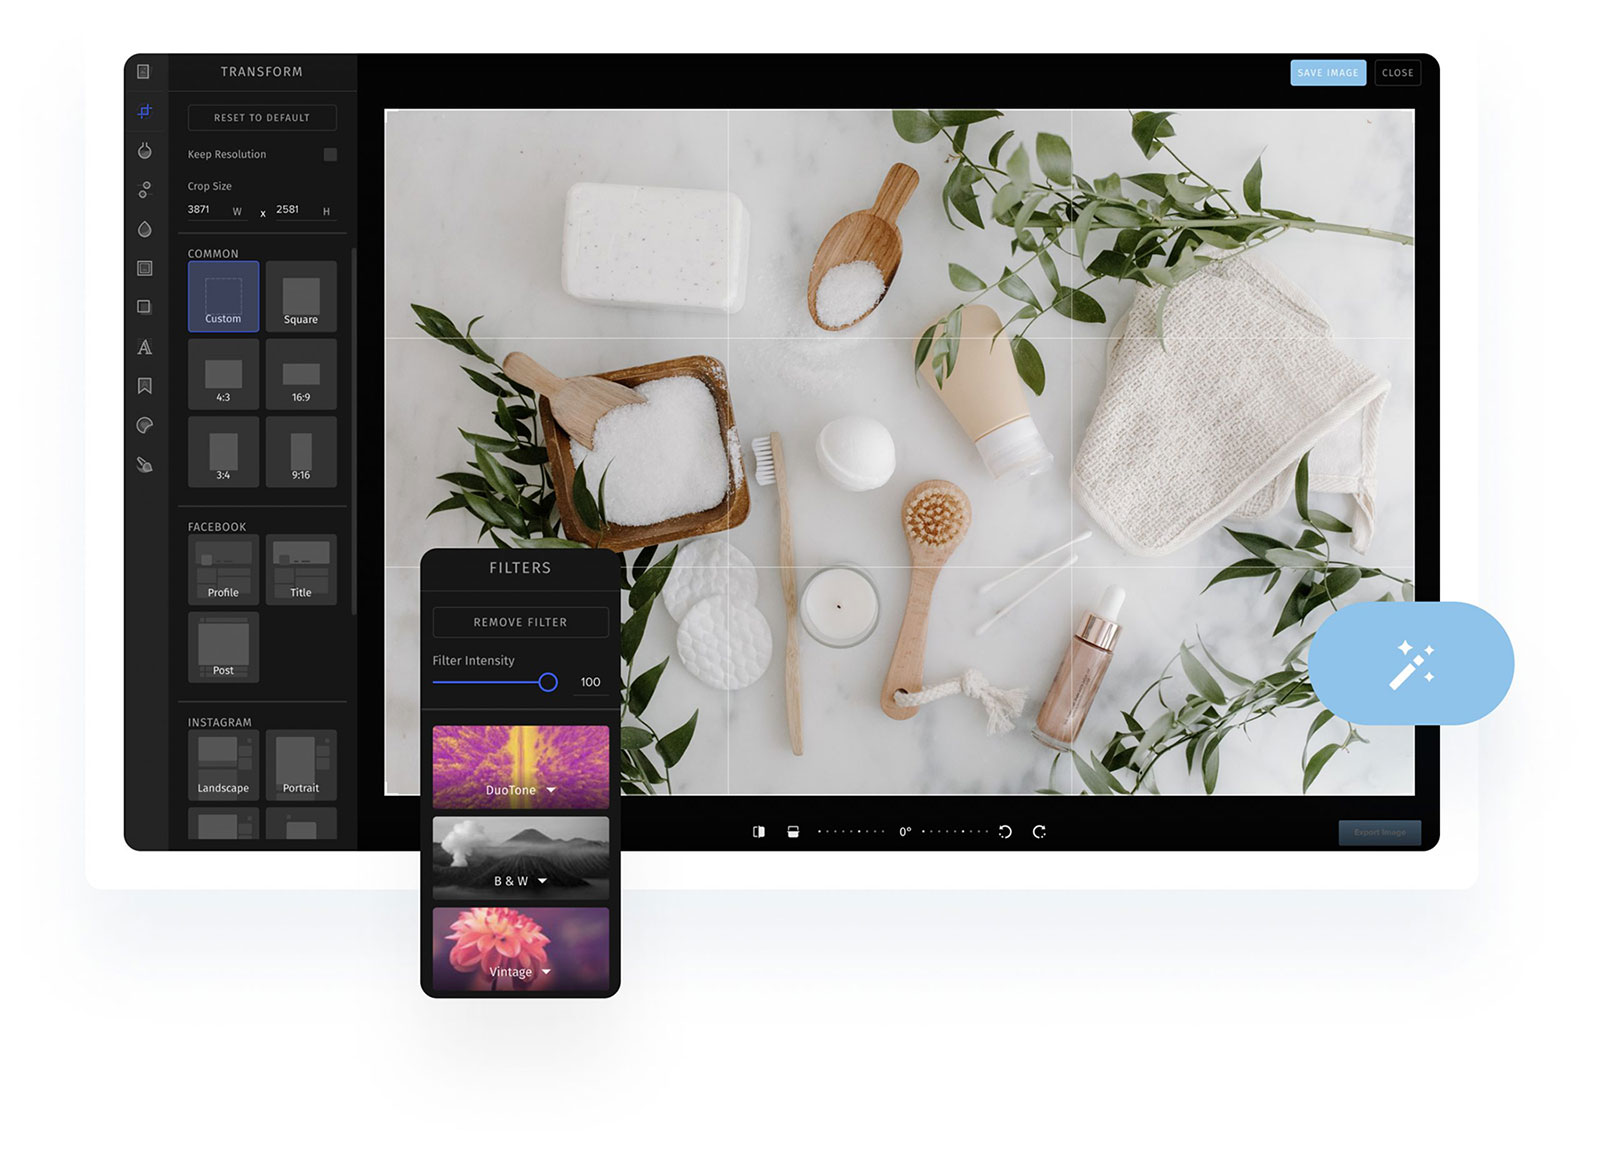
8.Color Correction & Grading
With color correction, the brightness, contrast, and white balance of a video are adjusted to ensure the footage appears realistic. Color grading takes this a step further by adding filters to evoke a certain feeling; warmth for lively vlogs and cool tones for dramatic scenes.
Both techniques enhance the quality of a video and aid in retention, as people tend to focus longer on well-graded footage.
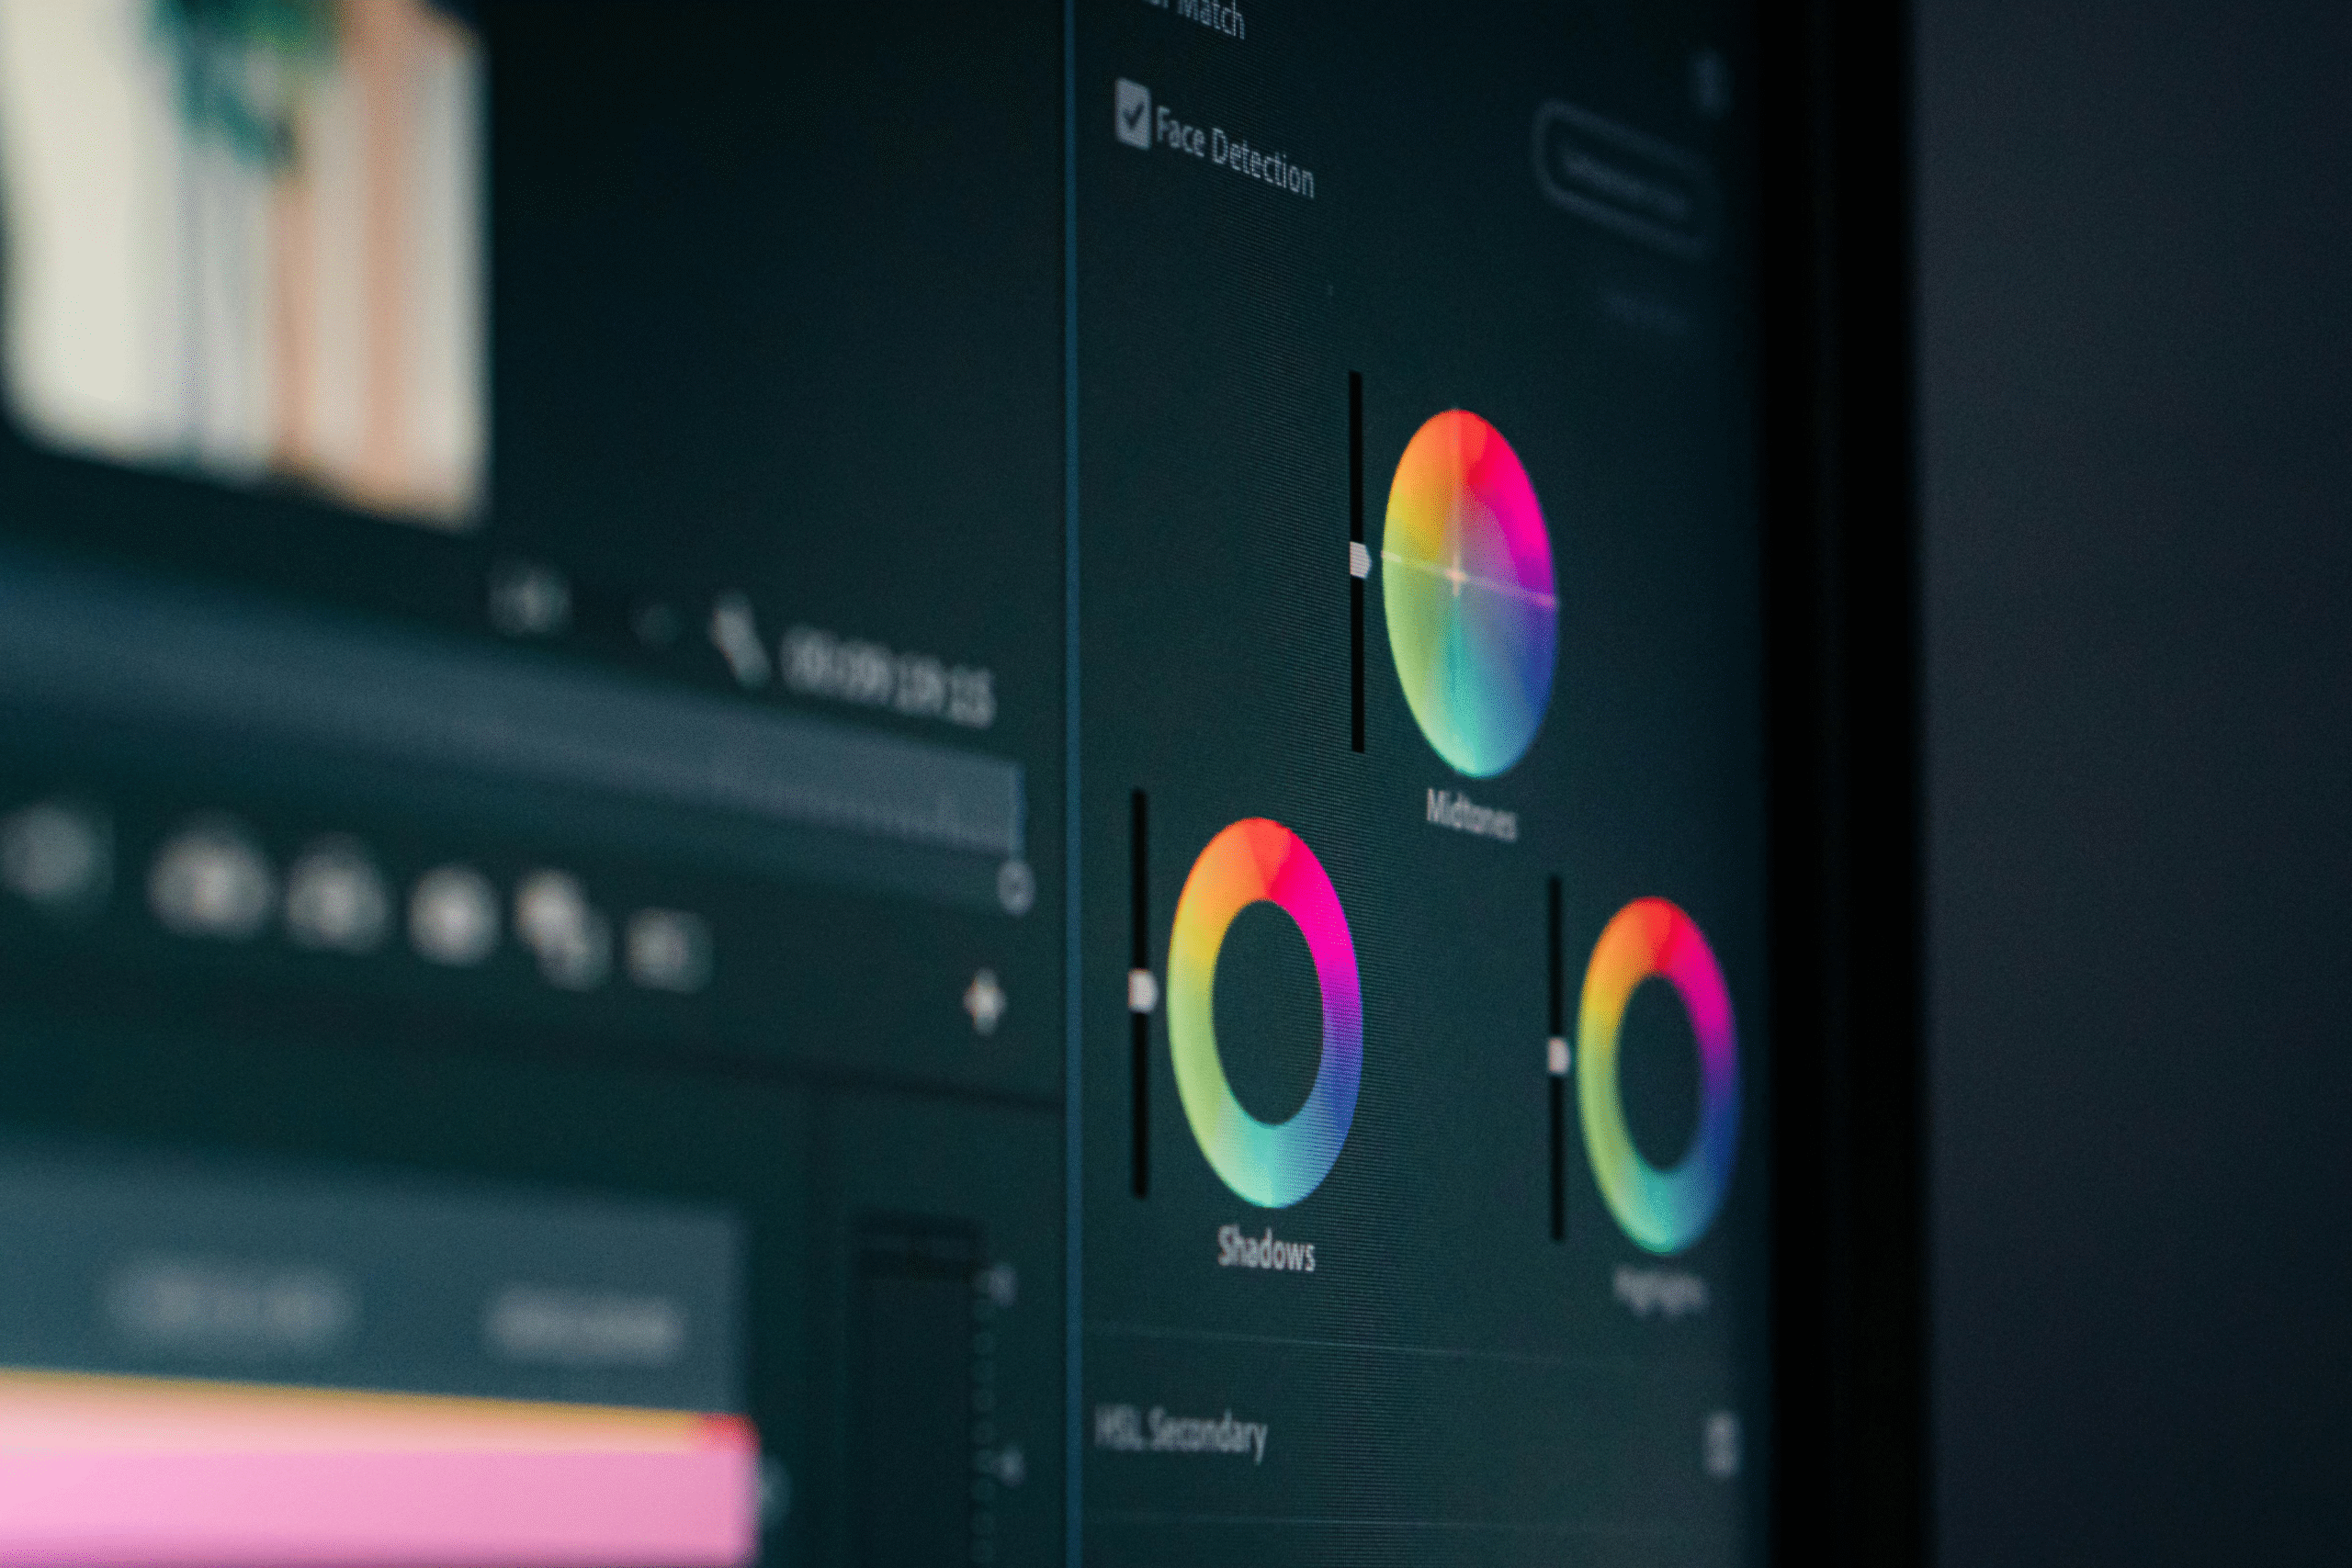
Most editing software provides some sort of color tool, and grading can be expedited through the use of LUTs (Look-Up Tables). Footage must be aligned throughout to preserve consistency, as disjointed changes in tones and colors may distract audiences.
| Feature | Description |
|---|---|
| Brightness & Contrast Controls | Corrects lighting issues |
| White Balance Adjustment | Ensures natural and consistent colors |
| LUT Support | Applies professional-grade color grading presets |
| RGB Curves and Scopes | Fine-tunes color tones |
| Style Enhancement | Creates specific moods or brand tone |
9. Keep Branding Consistent
Utilizing the same brand components throughout a channel, such as intros, outros, fonts, logos, and colors, allows for quick recognition and differentiation from competing brands. These attributes, along with animations for subscribing or branded lower-thirds, help reinforce brand identity.
Every tutorial or vlog is seamlessly merged through cohesive design, allowing for improved professionalism. Audiences can identify the brand instantly, no matter where they engage with the content. Even small details like brand colored text overlays can make a difference in viewer retention.
| Feature | Description |
|---|---|
| Branded Intro/Outro Templates | Adds a signature identity to each video |
| Consistent Font Use | Maintains visual coherence across content |
| Color Palette Integration | Strengthens channel recognition |
| Logo Watermark | Protects and promotes brand |
| Thumbnail Style Matching | Unifies channel’s aesthetic on the platform |
10. Export in High Quality
It’s always best to export your final video at high definition—at least 1080p, and 4K if your camera is able to. Exports of high quality will ensure your content looks sharp and professional from smartphones to desktops.
Refer to recommended YouTube export settings like using the H.264 codec and 16:9 aspect ratio to avoid compression issues.

Try to refrain from large files but ensure the best quality for ease of upload. Viewers can be easily deterred by poorly rendered videos with pixelation or blurry footage. With great export settings, you can ensure that your presence is noticed due to the experience you provide.
| Feature | Description |
|---|---|
| Resolution Settings (1080p/4K) | Ensures professional-looking output |
| Codec Support (H.264/H.265) | Balances file size with visual quality |
| Bitrate Control | Optimizes quality vs. upload time |
| YouTube Export Presets | Matches platform requirements for best playback |
| Audio Quality Settings | Preserves clarity in voice and music |
Conclusion
In conclusion, Editing Videos for a YouTube Channel. Great editing help in transforming good videos into unforgettable ones. This in turn turns into exemplary videos which can stand out and with refinement in your editing skills cumulatively guarantee growth on your channel.
Further optimizing your content makes them far more polished and enjoyable to watch which helps in turning new visitors into loyal subscribers.
Whether a seasoned editor or a beginning one, sharpening your skills will bring most of the benefit. Planning content with strong visuals and audio, clear and precise branding, ensures that you get the best possible outcome.