In this article, I will discuss how to bridge to Story Protocol, a seamless process that allows creators to transfer their digital assets onto a decentralized platform.
- What Is Story Protocol?
- How To Bridge To Story Protocol
- Visit deBridge
- Connect Your Wallet
- Select Networks
- Choose Your Asset
- Enter the Amount
- Authorize the Transfer
- Complete the Process
- Risk & Considerations
- Tips for a Smooth Bridging Experience
- Confirm Network Compatibility:
- Have Enough Wallet Funds for Gas Fees:
- Certain Wallets Only:
- Congested Networks:
- Check if the Token is Supported for Bridging:
- Use the Most Recent Versions:
- Start with Minimum Amounts:
- Clear Cache and Cookies:
- Follow Platform Instructions:
- Pros & Cons
- Conclusion
Bridging to Story Protocol opens up new possibilities for managing, tracking, and monetizing intellectual property in a secure and transparent manner. Let’s explore the steps involved in this simple bridging process.
What Is Story Protocol?
Story Protocol is a decentralized system that allows users to create, share, and monetize digital content on different platforms with ease. Its primary goal is to support content creators by giving them solutions to manage their royalties and IPs.
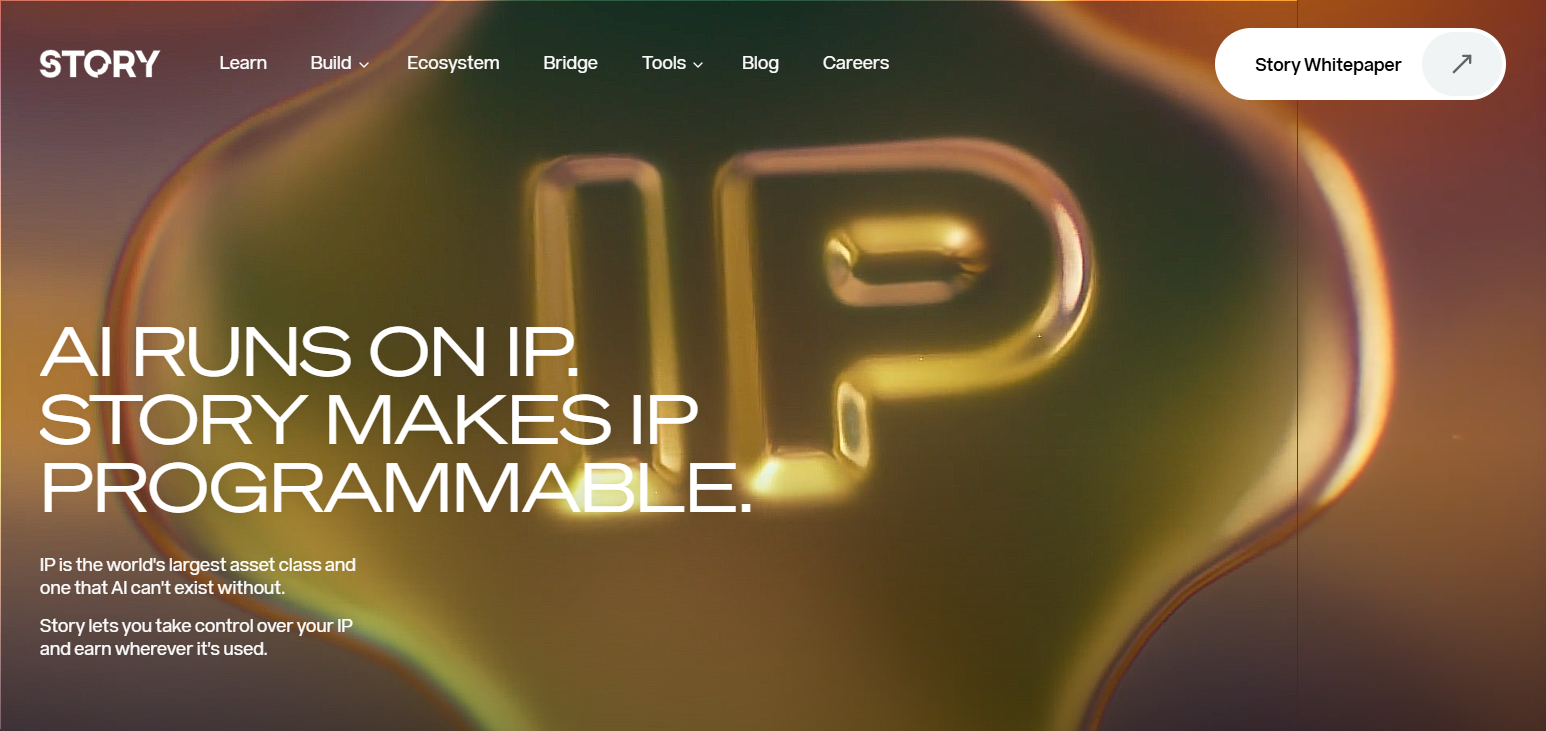
With the integration of blockchain technology, Story Protocol guarantees the transparency, security, and ownership of digital assets where users can interact, share, and collaborate in a more decentralized setting without losing control over their creations.
How To Bridge To Story Protocol
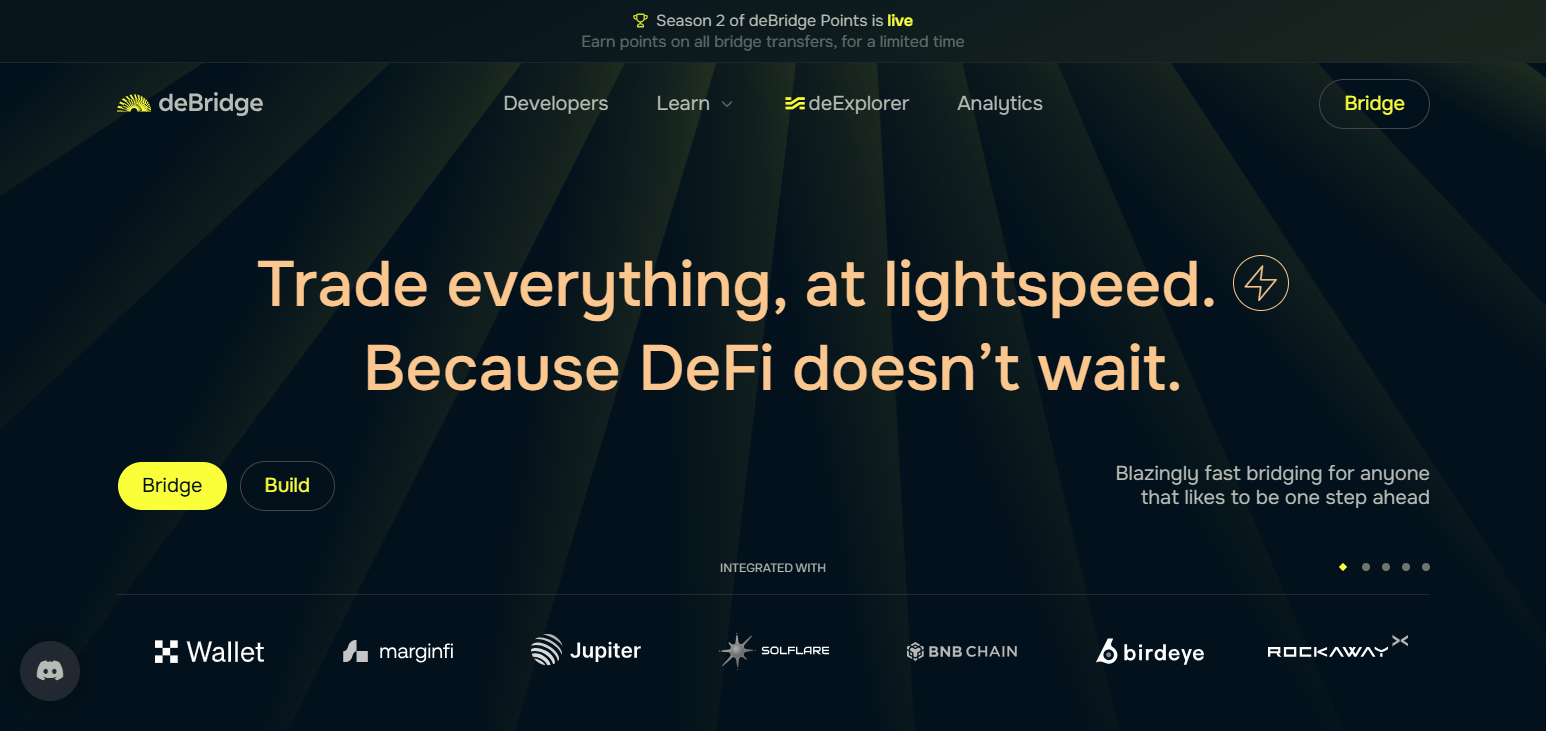
Visit deBridge
Open the deBridge platform through your Chrome, Firefox or any other browser.
Connect Your Wallet
Connect your wallet, this can be done through any Ethereum wallet ranging from MetaMask to Coinbase Wallet.
Select Networks
Select the source network, in this case, we will use Ethereum, and select as the target network Story Protocol.
Choose Your Asset
Choose the asset you wish to transfer. We can use ETH or USDC for this example.
Enter the Amount
Specify the amount of the asset you want to bridge.
Authorize the Transfer
Approve the asset transfer in your wallet and confirm the requested action in deBridge.
Complete the Process
There are several steps that need to be followed as per instruction provided on the screen. Rest assured, the assets will arrive in your Story Protocol wallet in a matter of minutes.
Risk & Considerations
Risks
Security Risks: Cross-chain bridges are known for being the target of hacks such as the Nomad bridge hack which resulted in great losses. Always check the bridge’s security measures and ensure they have valid audits to back it up.
Cost in Transactions: There are always fees involved during bridging, be it gas fees, validator fees or other. For instance, Ethereum Mainnet’s fee is around 5−5−10 depending on how congested the network.
Locking Hazards: Certain bridges operate under a “lock and mint” protocol which can jeopardize locked assets if the smart contract on the source chain gets breached.
Congestion: High usage on either chains can postpone a transaction as well as increase costs.
Considerations
Use Recommended Bridge Services: Users have reported using deBridge with low fees and 0 security breaches.
Understanding Fees: Make sure you know the fee outline in advance to avoid any surprises.
Check The Verification of Audits: Only use a bridge that uses a trusted auditing firm to ensure security of their orders.
Activity Check: Along with checking congestion, make sure you track the activity on the chains’ sides.
Tips for a Smooth Bridging Experience
Confirm Network Compatibility:
Consider if both your source and destination networks are able to connect with Story Protocol to prevent failed transactions.
Have Enough Wallet Funds for Gas Fees:
Transactions are gas limited for small amounts of ether. Make sure your wallet can cover gas fees if you want to process an on-chain transaction.
Certain Wallets Only:
Make sure that the wallet you are connecting with Story Protocol is compatible (eg. MetaMask, Trust Wallet) for an effortless connection.
Congested Networks:
While networks like Ethereum have high congestion, the bridge can be idle. Bridging during off-peak hours would yield a faster transaction.
Check if the Token is Supported for Bridging:
The token that you are attempting to bridge should have support in both the source and destination network.
Use the Most Recent Versions:
Make sure your wallet and browser are the most up to date so compatibility issues do not block any bridging tasks.
Start with Minimum Amounts:
For those new to bridging, moving small token amounts first is ideal. This will allow you to check whether everything works as intended before moving larger amounts.
Clear Cache and Cookies:
In case ever you have any connection issues, try to clear your browser caches or open an incognito window to get a fresh connection.
Follow Platform Instructions:
For best results, follow the steps to the letter as outlined on the Story Protocol bridge platform to avoid having problems midway through the process.
Pros & Cons
| Pros | Cons |
|---|---|
| Cross-Chain Functionality: Easily move assets across different blockchains. | Security Risks: Bridges are common targets for hacks. |
| Network Access: Enables integration with Story Protocol’s blockchain ecosystem. | High Fees: Gas fees and transaction costs can be expensive on congested networks. |
| Efficiency: Facilitates fast and streamlined asset transfers. | Asset Locking Risks: Locked tokens may be vulnerable to smart contract risks. |
| Flexibility: Access innovative applications like intellectual property management. | Network Congestion: May delay transactions and increase costs during high traffic. |
| Trusted Platforms: Bridges like deBridge offer security and reliability. | Limited Transparency: Some bridges may lack clarity in their fee structures or operations. |
Conclusion
To wrap things up, bridging to Story Protocol helps creators move assets easily from one network to another. It is a simple process that involves setting up a wallet, picking an asset together with the network, and approving the transaction.
Once these steps are followed, creators can safely manage digital content and even monetize it on the blockchain, which has far-reaching impacts on intellectual property management.